How Long Does the Dental Implant Process Actually Take?

How Long Does the Dental Implant Process Actually Take?
This is the first question most patients ask about dental implants, and the answers they find online are frustratingly vague. "It depends" is technically true and completely useless when you are trying to decide whether to start.
So here is a real answer: for most patients, six to twelve months from the first appointment to the final crown. If the tooth is already gone and the bone is in good shape, it can be closer to four months. If significant rebuilding is needed first, it can run longer than a year.
Most of that time is not spent in a dental chair. It is spent healing, and the healing is doing something specific. Here is what happens at each stage and why the waiting is not wasted.
The Short Version
If the tooth still needs to come out: roughly 8 to 12 months. Extraction and bone graft, three to four months of healing, implant placement, three to four more months of healing, then the crown.
If the tooth is already gone and the bone is healthy: roughly 4 to 6 months. You skip the first healing phase and start at placement.
If the bone needs significant rebuilding first: 12 months or more. A sinus lift or ridge augmentation adds its own healing period before the implant can be placed.
The three things that drive the number:
- Whether the tooth is still there
- How much healthy bone you have
- How well and how quickly you heal — which smoking, diabetes control, and general health all affect
The actual chair time across the whole process is usually only a handful of appointments. The rest is biology.
Step 1 — Consultation and Planning
Time: one appointment
This visit establishes whether an implant is the right option and what it will take. It includes a clinical exam, a review of your medical history and medications, and imaging.
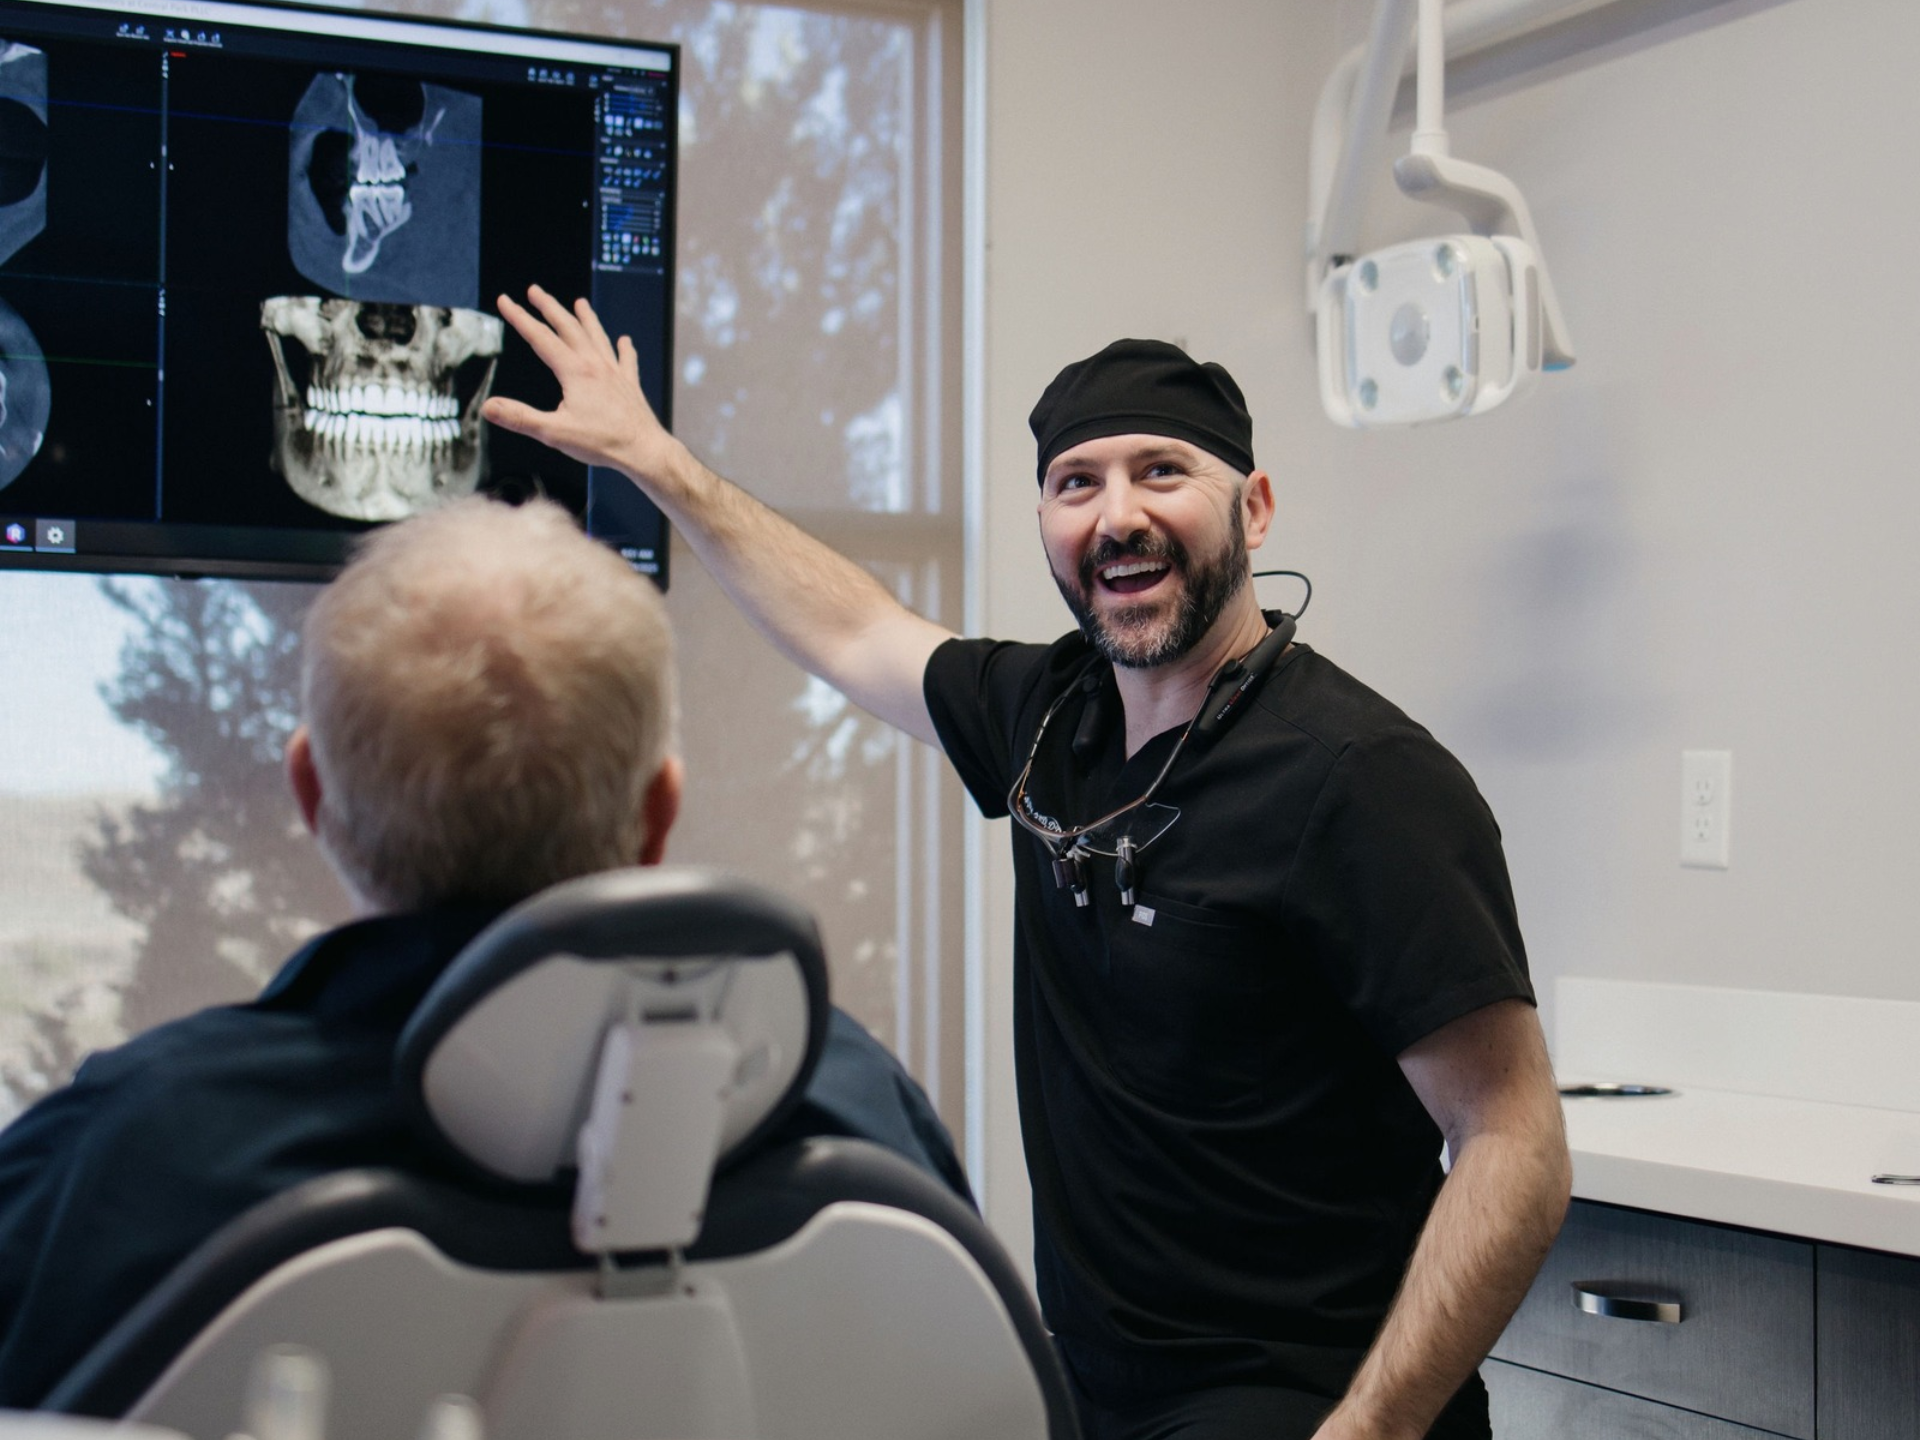
The imaging matters more than patients expect. A CBCT scan is a three-dimensional X-ray that shows bone height, bone width, and the position of anatomical structures like the sinus and the nerve canal — none of which a standard two-dimensional X-ray reveals accurately. It is what makes it possible to know in advance whether there is enough bone, whether grafting is needed, and exactly where the implant should go.
One thing worth understanding up front: implants are usually a two-office process. The periodontist places the implant; your general dentist makes and seats the crown that goes on top. Both offices coordinate throughout, and knowing this in advance prevents the confusion of being sent back and forth without explanation.
You should leave this appointment knowing the sequence, the approximate timeline for your specific case, and the cost.
Step 2 — Extraction and Bone Graft
Time: one appointment, plus a post-op visit about three weeks later
Skip this step if the tooth is already gone.
If the tooth is still in place, it comes out — and in nearly every case we graft the socket at the same time. This is the step that determines whether an implant stays realistic.
When a tooth is removed and nothing is placed in the socket, the ridge of bone that held it shrinks, in both height and width, with most of that change happening in the first several months. If you want an implant later, that lost bone has to be rebuilt first, which is a larger surgery and a longer timeline than preserving it would have been.
Grafting at the time of extraction — ridge preservation — keeps the bone where it needs to be. It adds nothing to the appointment time and it saves months later.
You will come back for a post-op check about three weeks afterward to confirm the site is healing as it should.
Step 3 — Graft Healing
Time: 3 to 4 months, with no appointments in between
This is the first long wait, and patients consistently want to know whether it could be shorter.
What is happening during those months is called graft turnover. The graft material placed in your socket is a scaffold, not a replacement — your own body gradually resorbs it and deposits real, living bone in its place. At the end of the process the site is not holding graft material; it is holding your bone.
That matters because an implant needs to fuse to living bone in order to hold. Placing one into a site that has not finished turning over risks a fixture that never integrates properly, which means losing it and starting again.
At the end of this period you come back for an implant evaluation: a new CBCT scan to confirm the bone volume, an intraoral scan, and planning of the exact implant position before placement.
There is nothing you need to do during these months other than keep the area clean and avoid smoking, which measurably impairs how well grafts take.
Step 4 — Implant Placement
Time: one appointment, typically 60 to 90 minutes, plus a post-op visit about three weeks later
This is the part patients dread and almost universally report as easier than expected.
The area is numbed with local anesthetic. A small opening is made in the gum, the implant site is prepared in the bone, and the titanium implant is placed — positioned according to the plan built from your CBCT scan rather than judged by eye. The gum is then closed with sutures.
Two possible endings to the appointment, which affects your timeline later:
- Submerged placement. A cover screw is placed and the gum is closed over the implant entirely. This requires a small second-stage procedure later to uncover it.
- Healing abutment at placement. A small post is attached that protrudes through the gum, so no second procedure is needed.
Which approach is used depends on how much initial stability the implant has and the condition of the surrounding tissue. Your periodontist will tell you which applies to you.
Recovery is milder than most people anticipate. Expect some soreness and swelling for a few days, generally managed with over-the-counter anti-inflammatories. Most patients return to work the next day. A post-op check follows about three weeks later.
Step 5 — Osseointegration
Time: 3 to 4 months
The second long wait, and the one that cannot be rushed.
Osseointegration is the process by which bone grows directly onto the surface of the titanium implant, fusing to it at a microscopic level. It is the entire reason implants work — the fixture is not screwed into bone like an anchor in drywall, it becomes biologically continuous with it. That connection is what lets an implant withstand years of chewing force.
It also cannot be hurried. The bone deposits at the rate the bone deposits. Loading an implant with a crown before integration is complete is one of the few ways to cause an implant to fail outright.
At the end of this period, one of two things happens:
- If a cover screw was placed, a brief second-stage procedure uncovers the implant and attaches a healing abutment, which shapes the gum tissue around it over the following couple of weeks.
- If a healing abutment was placed at surgery, no procedure is needed. The implant is tested for stability — confirming it has integrated — and cleared for restoration.
Either way, once it is cleared, you move to the crown.
Step 6 — The Crown
Time: 3 to 7 weeks, across two appointments at your general dentist
This is where the implant becomes a tooth, and where your care shifts back to your general dentist.
Appointment one: the scan. Your dentist takes a digital scan or impression of the implant and the surrounding teeth. That goes to a dental laboratory, which fabricates the abutment — the connector piece — and the crown itself.
The lab wait. Usually three to seven weeks depending on the laboratory and the complexity of the restoration. This is the stretch of the process that varies most and is least under anyone's control.
Appointment two: the seating. The abutment is attached to the implant and the crown is secured on top. The fit and the bite are checked and adjusted. You leave with a functioning tooth.
One more visit, back at the periodontal office. After the crown is seated, you return to us for a post-restoration check — an X-ray and a bite assessment to confirm everything seated correctly and the forces are distributed properly. Patients sometimes find this surprising, since the crown was placed elsewhere, but verifying the implant itself is our responsibility.
Then a one-year check. An implant is meant to last decades, and keeping an eye on the bone around it is how that happens.
What Makes It Take Longer
A sinus lift. Upper back teeth sit close to the maxillary sinus, and when bone height there is insufficient, the sinus floor is raised and grafted to create room for an implant. Depending on the technique, this adds anywhere from a few months to six or more before placement.
Ridge augmentation. When the ridge has already narrowed or shortened — usually because a tooth was removed years ago without grafting — it has to be rebuilt before an implant can be placed. This adds its own healing period of several months.
Active infection or gum disease. Periodontal disease has to be treated and stabilized before implants are placed. An implant in an actively infected mouth is an implant at risk, so this comes first.
Smoking. It impairs healing at every stage, reduces graft success, and raises implant failure rates. It does not just extend the timeline; it affects the outcome.
Poorly controlled diabetes. Healing is slower and infection risk is higher. Well-controlled diabetes is generally not a barrier to implants at all — control is the variable, not the diagnosis.
Multiple implants or full-arch cases. More sites mean more planning, sometimes staged surgery, and more complex restorative work.
Lab turnaround. Entirely outside the clinical picture, but real. Complex restorations take longer to fabricate.
Can It Be Faster?
Sometimes, and it is worth asking — but the shortcuts have real criteria.
Immediate placement. The implant is placed into the socket at the same appointment the tooth is removed, eliminating the first three-to-four-month wait entirely. It requires enough healthy bone around the socket to hold the implant stable, no active infection at the site, and favorable anatomy. When the conditions are right, it can take months off the process.
Immediate loading. A temporary crown is placed on the implant right away rather than after integration. This is about appearance and function during the wait, not about shortening it — the implant still integrates on its own schedule underneath. It requires strong initial stability and a bite that will not overload the implant while it heals.
Why they are not offered to everyone. These approaches trade margin for speed. When the criteria are met, outcomes are comparable to the staged approach. When they are not met, the failure rate goes up — and a failed implant means removal, grafting, and starting over, which costs far more time than the staged approach would have.
We offer immediate placement when the criteria are met, so it is worth asking whether you are a candidate. A good answer will be specific about why or why not. If you are told yes without much examination of your particular anatomy, that is worth a second opinion before proceeding.
"Will I Have a Gap the Whole Time?"
This is the question patients are most reluctant to ask and most want answered. It is a completely reasonable thing to care about.
The short answer: for a visible tooth, almost never. There is nearly always a temporary option, and it is worth raising at your consultation rather than discovering later.
Common approaches during the healing phases:
- A temporary partial — a removable appliance with a tooth attached, sometimes called a flipper. Inexpensive, straightforward, and removable.
- A temporary bridge — bonded to adjacent teeth, fixed rather than removable.
- A temporary crown on the implant — immediate loading, where conditions allow.
- A modified existing appliance — if you already wear a partial or retainer, it can often be adapted.
For back teeth, many patients choose to go without. It is not visible, and chewing adapts. That is a legitimate choice rather than a compromise, but it should be your choice made knowingly.
Bring it up at the consultation. Temporary solutions are easier to plan in advance than to improvise partway through.
Getting a Timeline for Your Own Case
Everything above is the general shape of the process. Your actual timeline depends on what is happening in your mouth right now — whether the tooth is still there, how much bone you have, and whether anything needs treating first.
A consultation with a CBCT scan answers that specifically. You should leave knowing the sequence, the approximate dates, and the cost, rather than a range.
And if you have already been given a plan elsewhere and want a second set of eyes before committing — particularly for a larger case, or one where you have been told you need extensive grafting — that is a reasonable thing to ask for. We see patients for second opinions regularly.
Related Reading
- Dental Implants
- Implant Placement
- Tooth Extraction & Socket Preservation
- Ridge Preservation
- Sinus Lift
- Peri-implantitis & Implant Complications
Schedule a Consultation
We see patients at two Denver-area locations — Central Park in Denver and Westpark in Westminster. Call (720) 703-9116 or request an appointment online.
Medically reviewed by Kyle Diehl, DDS, PhD, board-certified periodontist. Last updated October 2026.
Connect
with us
wE CAN’T WAIT TO MEET YOU
Call 720.703.9116 or request an appointment online to set up your first visit. We’ll be in touch soon.
